
We are down to the last two units in the Harmony Hand Pieced Quilt Along! It has been so fun to see all of your Corner Units in the link up! If you didn’t get a chance to link up this time–no worries! There is still one more check-in link up, and then of course–the final link up for the fabulous grand prizes!
This week’s unit, the Triangle in a Square is going to be a cinch for you after the Twisted Triangle in a Square.
Once again, it is one of those units that you will need to cut from the templates supplied with the Harmony pattern. No rotary cutting directions are given. It is VERY important that you measure the 1″ mark on your template sheet to make sure that you have printed it out at the correct size. If it’s small, then check your printer settings and print it again at “Actual Size”.
(Disclosure: This post may contain affiliate links, which means I make a small commission if you buy from them, at no additional cost to you.)
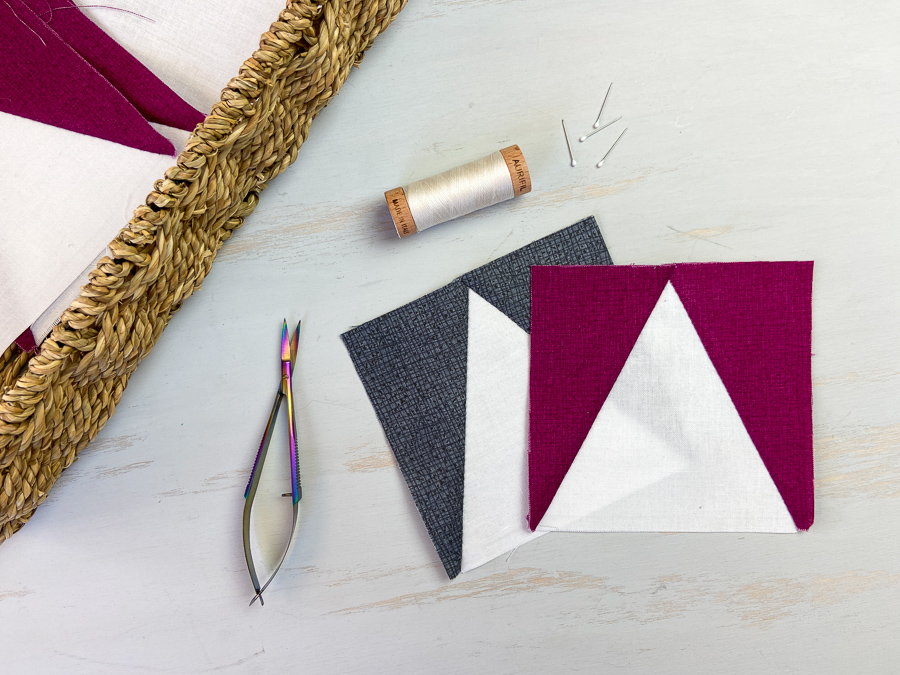
Triangle in a Square Construction

And just like the Twisted Triangle unit, one thing to keep in mind as you cut the pieces for this unit is that Templates D and E are reversed versions of the same shape. If you are using a fabric with a “wrong” side, then you need to pay attention to using the correct templates when you cut those pieces. If you are using a solid with no right or wrong side, then you don’t need to worry about that.


The first step is to lay out the unit. The stitching is very straight forward, but getting it pinned accurately can be a little challenging.
About marking stitching lines: For this unit, I actually advise you to mark the stitching lines on both the background pieces and the center triangle. While that may seem like over-marking, it does help you to make sure that your pieces are lined up precisely. This way you can make sure that your pins are in the correct position on both sides of the fabric for accuracy.


You will need a total of eight of these units for the wall hanging, four in one colorway and four in another (if you are following the coloring in the pattern). So you’ve got lots of tries to get these pieces accurate! If you are doing the throw quilt, then you will need 32 total Triangle in a Square units.

When you are done, trim off that little dogear at the top and give those units a nice press and make sure that you have 1/4″ at the top of your triangle. If you do, you know that you will have a nice point when you stitch these into blocks. I love this Oliso Mini iron on a wool pressing mat for quickly pressing these units.

I find these units fun and relaxing to sew. I “chain piece” them–pinning the left triangle on all eight pieces and then just stitch until they are all done. Then repeat with the triangle on the right. So, pour yourself a cup of tea, turn on your favorite show or audiobook and enjoy the stitching!
As always, don’t forget to pop on over to Patty’s blog she has great tips about this unit.
Next week we will be stitching the last units for our quilt! We still have some construction to do after that, but we are in the home stretch! Don’t forget to share your blocks over in our Facebook group or on Instagram.
Looking for the Harmony pattern?
HAND PIECING RESOURCES
- Check out the whole Hand Piecing Basics video playlist on YouTube.
- Patty has many written tutorials from the original Hand Pieced QAL.
STAY IN TOUCH
- Join our Hand Pieced Quilt Along Facebook Group
- Subscribe to our newsletter
- Follow Simply Everyday Handmade and Elm Street Quilts on Instagram
Pin it for later!

