
Let’s get this Quilt Along started! Today we are starting our 3rd Hand Pieced Quilt Along using the Harmony pattern. If you are new around here, you can find out all the details here.
We are going to get our hand piecing skills warmed up this week with a simple Square in a Square unit.
It’s a simple “stitch and flip” block, but gets us used to marking that quarter inch seam allowance and practicing the running stitch.
But before we get started, let’s talk about cutting.
(Disclosure: This post may contain affiliate links, which means I make a small commission if you buy from them, at no additional cost to you.)
Cutting and Prepping Blocks

In the Harmony pattern, we’ve given you a few choices on how to cut your fabric. You can use templates for all the pieces, or rotary cut most of the blocks and just use templates for the shapes that you can’t cut with a simple ruler. I chose the second option. I like using modern methods when possible–so I’ll use a rotary cutter whenever I can.
Note: When you print out the template pages, make sure that you select “Actual Size” on your printer. Then double-check that it printed accurately by measuring the 1″ test square on the printed template page.

I would make the suggestion that even if you are going to make the throw-size quilt, just cut out the pieces for one block at first. That way you can see how the templates fit in the fabric strips, and you can get an idea of how much fabric the units use up.
I found the Cutting Instructions on pages 5 & 6 very handy to cut the strips that you will need from each fabric group for one block. From there you can do the subcutting as well as trace and cut out the template pieces. If you are going with a more scrappy layout, you may just want to cut what you need for each individual unit.
Square in a Square Unit: Stitch & Flip Method
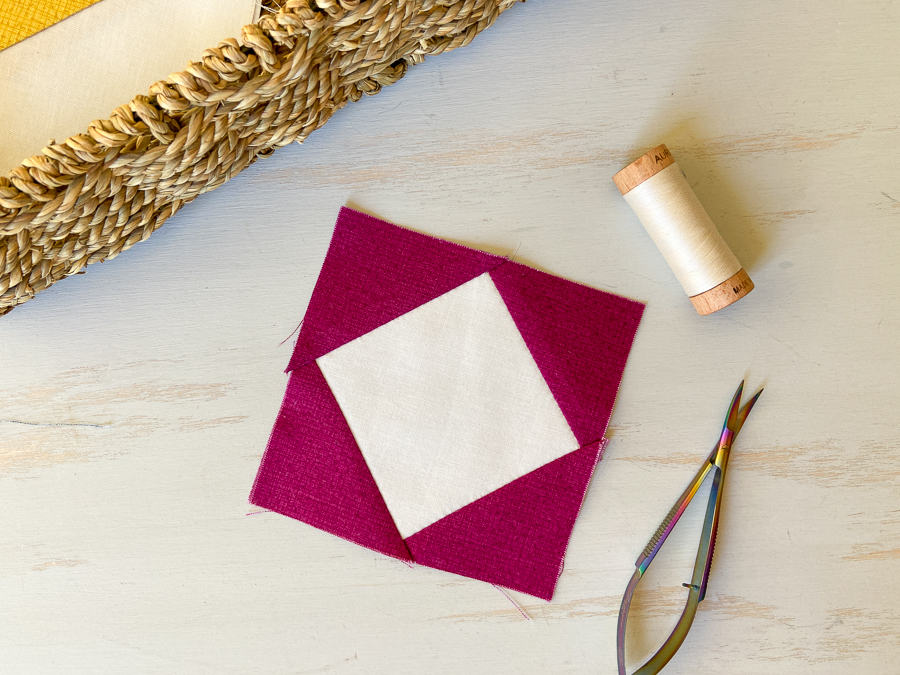
I’m using the stitch and flip method of piecing the Square in a Square unit, with rotary cut pieces (pictured on the left). Patty is demonstrating the template version (pictured on the right), so be sure to pop on over to her blog to read all about that method.

Stitch and flip method 
Template method
Grab your background fabric and four squares for the corners.


Next, draw your diagonal stitching lines on the back of the squares. Remember: In order to leave the seam allowances free, you will want to mark 1/4″ from the corner of the square and then draw your diagonal line to join them.
Then it’s a simple matter of placing the square in the corner, stitching, trimming, and finger pressing open. I worked clockwise around the background square, but some people prefer to sew opposite sides–and that works just fine too!


Pay attention to how your unit looks once you press each corner open. You may find that you need to stitch a little above the line to get a square block. I can stitch right on the line and have my block come out the correct size–it may be that I use a very thin 80 wt thread that helps. Everyone’s stitching is a little different, so experiment to find out what gives you the best results.

You just need one Square in a Square block for each Harmony quilt block. We are working our way through the units in the order they appear in the pattern–so meet me back here next week as we tackle the the next unit!
Looking for the Harmony pattern?
HAND PIECING RESOURCES
Check out the whole Hand Piecing Basics video playlist on YouTube.
Patty has many written tutorials from the original Hand Pieced QAL.
STAY IN TOUCH
- Join our Hand Pieced Quilt Along Facebook Group
- Subscribe to our newsletter
- Follow Simply Everyday Handmade and Elm Street Quilts on Instagram
Pin it for later!

