
Welcome back for Unit #4 in the Harmony Hand Pieced Quilt Along, the Partial Square in a Square.
These units are going to be a snap for you because you’ve already done the Square in a Square unit. Partial Square in a Square units are basically the same, only you only add triangles to two corners. For a single block quilt (wall hanging), you will need 8 of these units, and for the throw size, you will need 32 units.
Once again you can cut these units with the standard rotary directions, or with the templates supplied with the Harmony pattern. I’ve cut my pieces with the rotary cutting directions. Be sure to check out Patty’s post where she demonstrates using templates.
(Disclosure: This post may contain affiliate links, which means I make a small commission if you buy from them, at no additional cost to you.)
Partial Square in a Square Construction

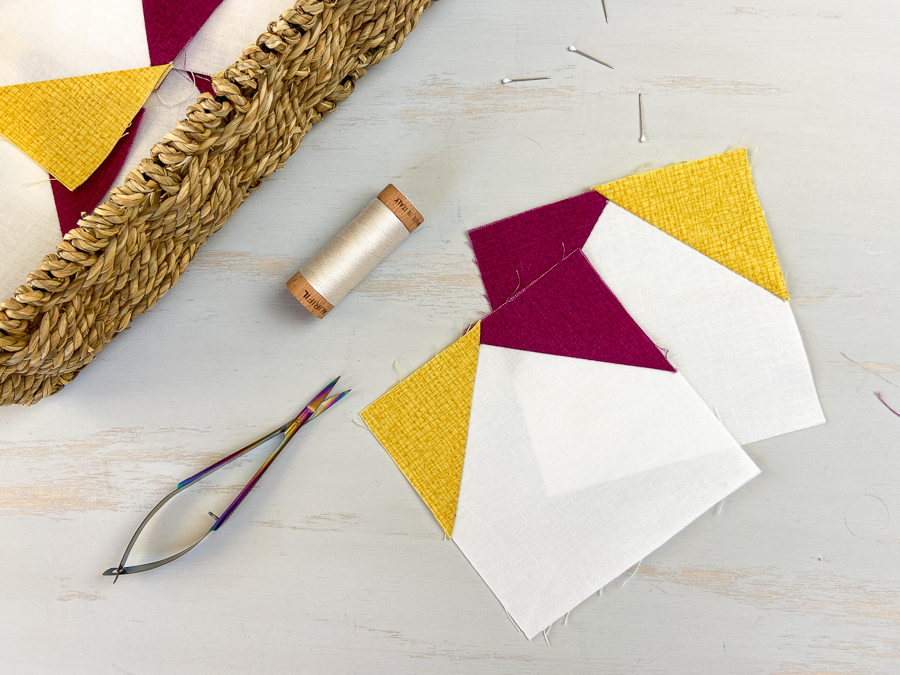
Color placement is very important with these units–so pay attention to your coloring sheet (or the pattern, if you are using that color scheme). Your quilt will look quite different depending on how these units are colored. For my color placement, (and the one in the pattern), you need a total of 8 units, four with one color placement, and then the other four with the colors reversed.

I am using the “stitch and flip” method for these. I would rather not use templates when I don’t have to, and because you start with the white square the correct size for the unit–the results are very accurate.
Simply mark the diagonal line on the wrong side of the corner units (remembering to stop 1/4″ from the corner, more info on that in this post). Following the photo above, line up the smaller square in the upper left corner, stitch, trim, and press open. Repeat in the upper right corner.
Everyone’s stitching is a little different–so after your first unit, press it open and make sure that that it is the correct size. You may need to stitch a little above the line, or a little below the line to get accurate results. For more tips on stitching accurate blocks, check out this video.
About marking stitching lines: I am marking as I go with this project. There are so many patches, that I don’t want to waste time marking in areas that I don’t need. So, for now, I am only marking the diagonal line on the corner units and will mark the other stitching lines as I need them.

I like to give each of these units a good press with an iron when all the units are complete. I find it helps the pressing to go a little easier at the end when you press the full 28″ block. It ensures that each unit comes out crisp, and you can check that you are not losing your points.

Make sure that you take a moment to pause and admire your work! It’s amazing how these simple units all come together to create such a pretty block!

Looking for the Harmony pattern?
HAND PIECING RESOURCES
- Check out the whole Hand Piecing Basics video playlist on YouTube.
- Patty has many written tutorials from the original Hand Pieced QAL.
STAY IN TOUCH
- Join our Hand Pieced Quilt Along Facebook Group
- Subscribe to our newsletter
- Follow Simply Everyday Handmade and Elm Street Quilts on Instagram
Pin it for later!

