How did you do with last week’s Half Square Triangle unit? Easy peasy, right? It’s been a lot of fun seeing everyone’s units as you have been sharing them in the Hand Pieced QAL Facebook group. You are an inspiring bunch!
This week’s unit is basically the same, with just a little corner triangle–but it really changes the look of the unit!
You can cut these units with the standard rotary directions, or with the templates supplied with the Harmony pattern. I’ve cut my pieces with the rotary cutting directions.
(Disclosure: This post may contain affiliate links, which means I make a small commission if you buy from them, at no additional cost to you.)
Fancy Half Square Triangle Construction
If you are using the rotary cutting directions, then you will simply make four HSTs (check out last week’s post for details on that), and then do a stitch and flip triangle on the corner.

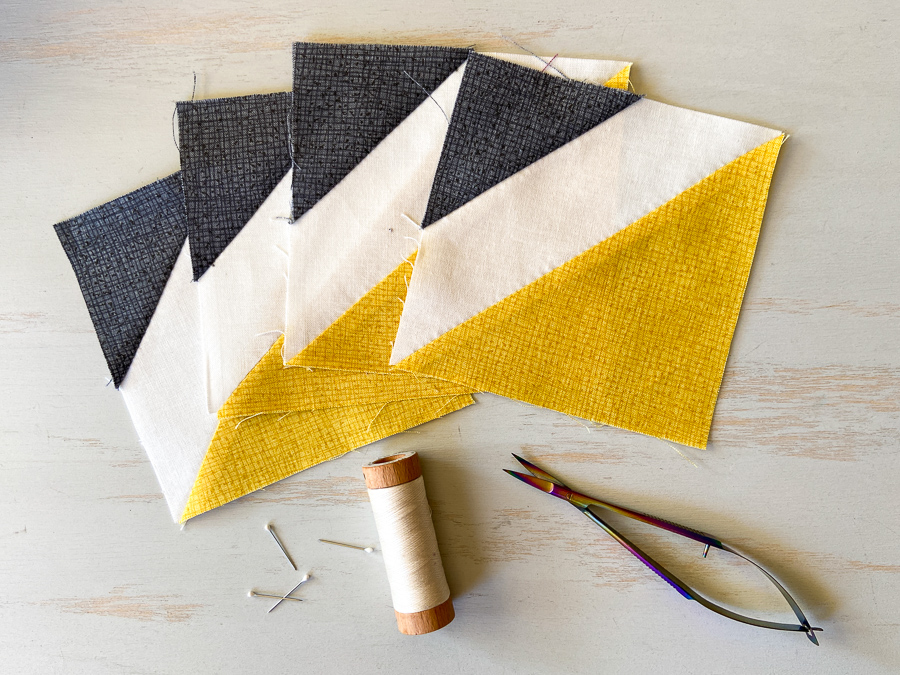
Once you have completed the Half Square Triangles, mark a diagonal line on the wrong side of your corner square. Stitch on the line, trim, and press your corner open. Then trim the dog ears off of your unit (which I have not yet done in this photo!)

You will need four of these Fancy HSTs, if you are making the wall hanging size, and 16 for the throw size quilt.

This photo highlights some of my favorite hand piecing tools: the short Clover Applique pins, Aurifil 80 wt thread, and Famore EZ snips. Having the right tools for the job sure does make it a pleasure to hand sew!
Make sure to hop on over to Patty’s blog to check out what she has to say about Fancy Half Square Triangles! She used the template option–so if that is your plan, make sure to read her post.
Looking for the Harmony pattern?

HAND PIECING RESOURCES
- Check out the whole Hand Piecing Basics video playlist on YouTube.
- Patty has many written tutorials from the original Hand Pieced QAL.
STAY IN TOUCH
- Join our Hand Pieced Quilt Along Facebook Group
- Subscribe to our newsletter
- Follow Simply Everyday Handmade and Elm Street Quilts on Instagram
Pin it for later!


 I’m Kristin, a passionate quilter, sometimes knitter, everyday cook, and cozy home creator. Simple Handmade Everyday is my place to share my love for living a creative, intentional life. Grab a cup of tea and have a look around!