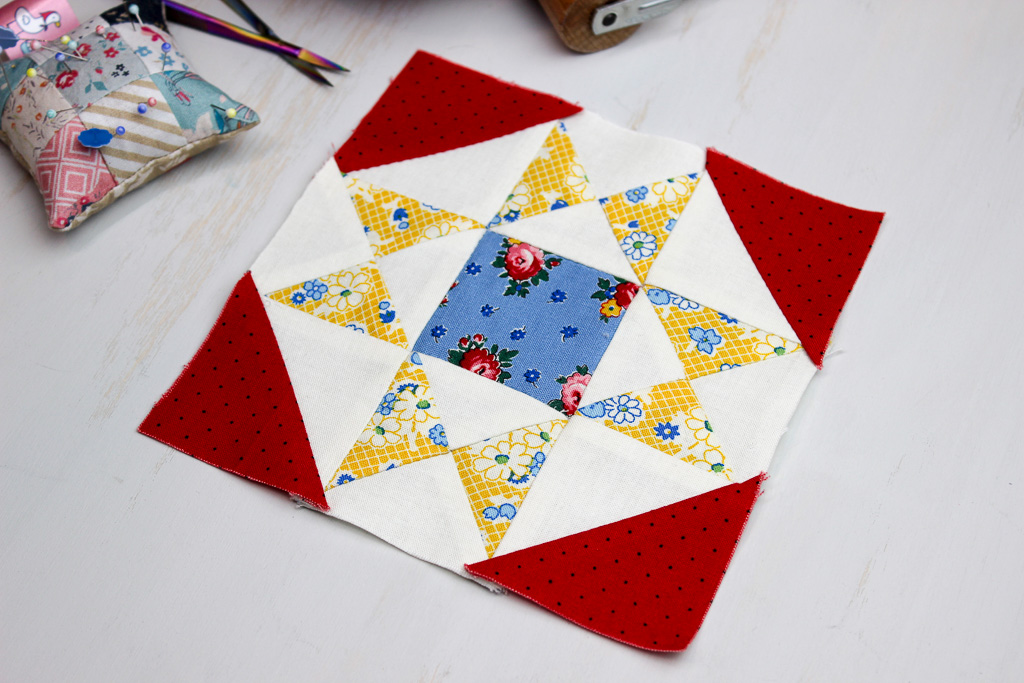

Are you ready to get started hand piecing the star blocks? Patty and I named the first one Dorothy, after one of the accomplished quilters in the novel Friendship Album 1933. In fact, all of our star blocks are named after characters in the quilting bee in that story–a quilting bee that we all would love to belong to, I’m sure.
The Dorothy block is simply an Ohio Star block with Half Square Triangles in the corners.
It’s built entirely from units that we have already covered– quarter square triangles and half square triangles.


This block can be a bit tricky when you sew the rows together. Make sure that you have a nice nesting seam where the QST and the HSTs meet in the corners. Just get those patches right where you want them and pin carefully.


As always, pin generously and sew carefully on your stitching line, passing that needle right through the seam allowances.
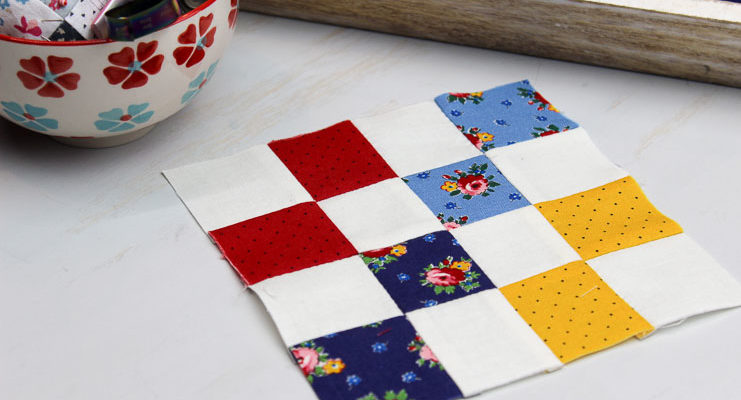
And don’t forget to check out Patty’s version for a completely different look!
Now let’s make our block!

Block size: 6″ finished (6 1/2’’ unfinished)
Notes:
- All seam allowances are 1/4″
- Stitching lines are drawn on the wrong side of fabric and always start and end 1/4″ from the edge of the fabric
- RST=Right sides together
- HST= Half square triangle
- QST=Quarter Square Triangle
Materials
- Print fabric:
- (2) 2 7/8″ squares sub-cut in half on the diagonal (corner HST units)
- (2) 3 1/4″ squares sub-cut on both diagonals (yielding 8 triangles) (side QST units)
- (1) 2 1/2″ square (center)
- Background fabric:
- (2) 2 7/8″ squares sub-cut in half on the diagonal (corner HST units)
- (2) 3 1/4″ squares sub-cut on both diagonals (yielding 8 triangles) (side QST units)
Instructions
Note: I draw the stitching lines on all of the patches before I begin sewing them together.
Create the Units
- Make (4) HST units from the print and background fabric (follow this tutorial). Finished HST unit should measure 2 1/2″ x 2 1/2″.
- Make (4) side QST units (follow this tutorial). Finished HST units should measure 2 1/2″ x 2 1/2″.
Assemble the Block
- Lay the block out according to the diagram and stitch together in rows.
- Press.

Want to catch up on all the Hand Pieced QAL posts? Click here.
I invite you to join our growing community for the Hand Pieced QAL over on Facebook–it’s a great way to interact with like-minded people and share our love for quilting and hand piecing. Share your blocks and any challenges and successes.
And don’t forget to sign up for the Hand Pieced QAL newsletter to make sure that you don’t miss any posts!
Pin it for later:

I love that some of the blocks are named after the characters in Friendship Album! I couldn’t help but pick out fabrics I thought Dorothy would like. Love that!
Looking forward to this week’s block and building the skills we have learned this far.
I am enjoying this was and learning this hand process.
Onto to finding fabric in my stash to begin this lovely block.
Thank you
I’ve had 4 Dorothy’s in my life,,,my sister Dot, my niece, Dorothy,my sister in law,Dottie and my dear friend, Dorothy. I’m 74 and my first Dorothy, my sister was 20 years older than me. My last Dorothy, my dear friend, was 20 years older than me. All my Dorothy’s are in Heaven now. I miss them all.