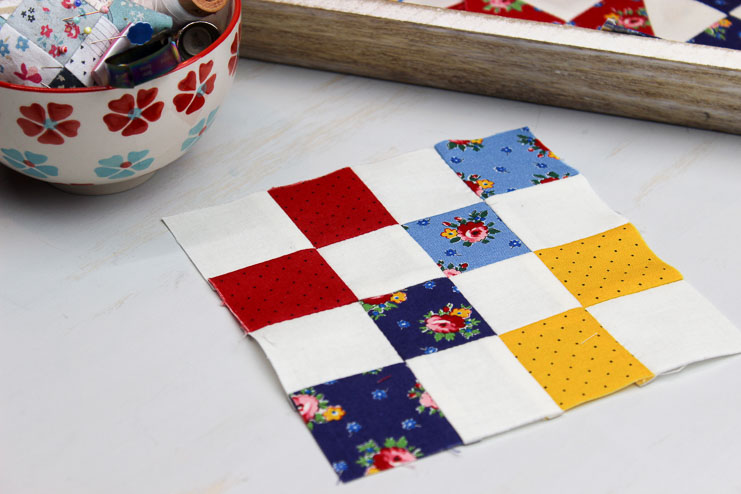
Welcome to Block 1 of the Hand Pieced Quilt Along! Today we will be tackling the most basic of blocks: the Four Patch. We will actually be hand piecing 4 Four Patch blocks and then sew them together into a larger Sixteen Patch block. You will get lots of practice with this one little block, and it’s perfect to learn all the basic techniques to hand piecing.
After cutting your patches, mark your 1/4″ seam allowances–making sure to start and stop 1/4″ from the edges of the patch.

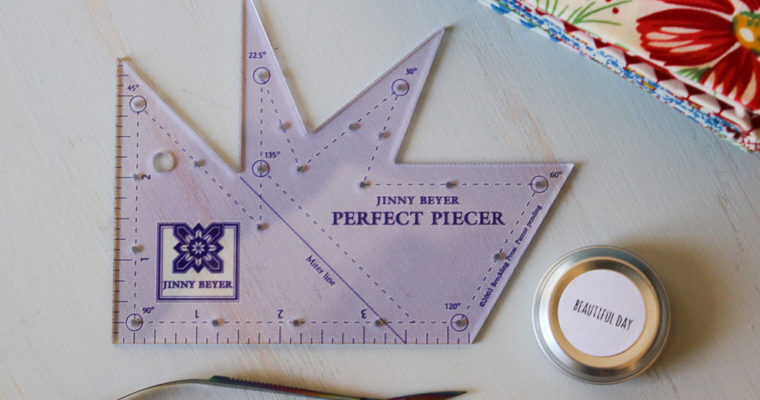
(I’m using American Jane’s upcoming (February 2019) Sweet Harmony line for my sampler quilt and the above photo features some of my go-to notions (affliliate links): Famore snips, Aurifil 80 wt. thread, Clover thimble, Robot Mom Sew thread conditioner.)
I created a video to show you exactly how to hand sew this block.
(For information on basic hand piecing techniques, refer to this post on cutting and marking, this one on the running stitch, or check out this hand piecing video playlist.

Block size: 6″ finished (6 1/2’’ unfinished)
Notes:
- All seam allowances are 1/4″
- Stitching lines are drawn on the wrong side of fabric and always start and end 1/4″ from the edge of the fabric
- RST=Right sides together
Materials
- Print fabric: (8) 2″ squares
- Background fabric: (8) 2″ squares
Instructions

Creating Two Patch Pairs
- Mark a 1/4″ seam allowance on the wrong side of each square. (watch video)
- Place one print square on top of one background square, RST. Pin at the beginning and end of the stitching lines, if desired.
- Stitch along one side, starting 1/4″ from the edge and stopping 1/4″ from the end. (watch video) Finger press open, pressing seam allowance to the print side.
- Repeat, making a total of 8 pairs.
Making Four Patch Blocks
- Place two pairs together, RST, as shown, alternating dark and light patch placement, nesting seams. Pin at the center seam intersection, as well as the beginning and ending of the stitching line.
- Sew along the stitching line, back stitching at the seam intersection.
- Push your needle through the seam allowance to the other side and backstitch. (watch video)
- Continue stitching to end of the stitching line. Finger press open.
- Repeat with the other 3 pairs of two patch blocks. You should have 4 Four Patch blocks.
Finishing the Block
- Sew together two four patch units, alternating dark and light patch placement, and nesting seams. Pin all seam intersection, as well as the beginning and ending of the stitching line.
- Repeat with the remaining 2 four patch units.
- Sew together the two 2 x 4 patch units together to form a single 16 patch unit.
- Press the block.
And don’t forget to pop over to Patty’s blog to see her beautiful block!
Thanks to Fat Quarter Shop and Famore for sponsoring the block tutorials!


Want to catch up on all the Hand Pieced QAL posts? Click here.
Join our growing community for the Hand Pieced QAL over on Facebook–it’s a great way to interact with like-minded people and share our love for hand piecing and quilting and handwork.
And don’t forget to sign up for the Hand Pieced QAL newsletter to make sure that you don’t miss any posts!
Pin it for later:


 I’m Kristin, a passionate quilter, sometimes knitter, everyday cook, and cozy home creator. Simple Handmade Everyday is my place to share my love for living a creative, intentional life. Grab a cup of tea and have a look around!