
Flying Geese are one of my favorite quilt blocks. They are so crisp and useful in so many quilt designs. But just like their wonderful and useful cousin–the half square triangle–there is more than one way to make a flying geese block. You never know which method will click with you, so I encourage you to give them all a try.
(Disclosure: Some of these are affiliate links, which means I make a small commission if you buy from them, at no additional cost to you. Rest assured that I only recommend products that I know and love.)
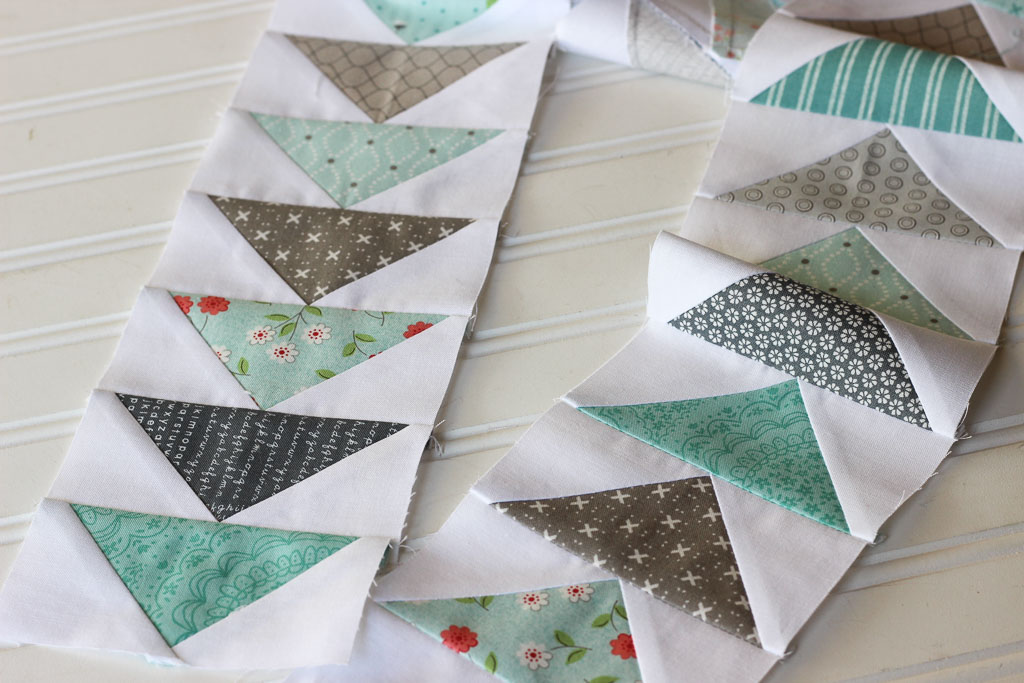
Here are five common methods, and I put them through their paces constructing a 4″ x 2″ finished (4.5″ x 2.5″ unfinished) flying geese unit.
1. Stitch and Flip Method
This is probably the most common way to make this unit.

- For a 4″ x 2″ finished unit, start with a rectangle of 4.5″ x 2.5″, and two squares cut to 2.5″.

- Draw a diagonal line, corner to corner, as shown on the wrong side of all the squares. If you don’t like doing all that marketing, the Clearly Perfect Angles cling is a lifesaver, and well worth the investment. You will never have to mark lines like these again!
- Place the square on top of the rectangle, right sides together (RST), as shown above.
- Sew on the line.

- Trim away the excess corner, leaving 1/4″ seam allowance from your stitched line.
- Press unit open.

- Repeat on the opposite side of the rectangle, placing the square with the diagonal as shown.
- Sew on the line.
- Trim excess corner, leaving a 1/4″ seam allowance.

- Press open.
Pros:
- Easy
Cons:
- Marking
- Dealing with bias edges
- Can be inaccurate, if your sewing isn’t perfect
- Wastes fabric
2. Stitch and Flip Oversized Block With Trimming
Sometimes the method above can result in less-than-perfect flying geese units. Imperfect sewing, bias stretching, and plain ol’ human imperfection can all play a part. To remedy this, you can make your unit a little bit bigger, and then trim it to a perfect flying geese block at the end. It may sound like a lot of work–but this is my preferred method, because it is so nice to sew with blocks that are perfect! And this whole quilting thing is a journey, not a race, right? So what’s the hurry?
And yes, it wastes a little fabric, but I think the payoff is worth it.

This is made with the same stitch and flip method explained in #1 above–but cut each piece 1/4″ larger.
- For a 4″ x 2″ finished unit, cut the rectangle 4.74″ x 2.75″ and the two squares 2.75″ each.
- Mark a diagonal line on the back of the squares.
- Sew on the line, trim excess corner off, press.
- Repeat on opposite side of rectangle.


- Trim to size. My favorite tool for this is a BlocLoc ruler, but you can do it with a standard quilting ruler as well.
-
Pros:
- Easy
- Very accurate
Cons:
- Marking
- Dealing with bias edges
- Wastes fabric
- Takes more time
- Possibly costs more if you use a specialty ruler, like a BlocLoc
3. “No Waste” Flying Geese Method
This method makes 4 flying geese units at a time.

- Cut a 5.5″ square and 4 smaller 3″ squares.

- Place the smaller squares on the larger square, RST, in opposite corners, as shown. Draw a diagonal line, corner to corner across the squares, or again, skip the marking with a Clearly Perfect Angles cling.
- Sew 1/4″ on either side of the marked line.

- Cut on the marked line.
- Press unit open.

- Place a square on unit as shown above and mark a diagonal line, corner to corner.
- Sew 1/4″ on each side of the marked line.
- Cut on the marked line.

- Press unit open
- Repeat with remaining unit–for a total of 4 flying geese blocks.
Pros:
- No waste
- Makes four blocks at a time
Cons:
- Can be inaccurate, if your sewing isn’t perfect
- Marking
4. Flying Geese Using Specialty Rulers
Not surprisingly there are rulers on the market to help you accurately cut these units, with no wasted fabric. The ones I recommend are the Companion Angle and EZ Angle. You need them both, because the larger triangle is a quarter square triangle, and the two side pieces are half square triangles.

- Cut the larger triangle with the Companion Angle ruler. There are many videos online for how to do this, but the markings are very clear. Bonnie Hunter has a great one video on this method.

- Cut the smaller triangles with the Easy Angle ruler.

- The rulers even trim the dog-ears off for you! Place the smaller triangle on the left RST on top of the larger triangle, matching corners, and stitch.

- Press unit open and repeat on the right side.
Pros:
- No waste
- Saves time if you need a lot of blocks with using the same fabric
Cons:
- Can be inaccurate, if your sewing isn’t perfect
- Cost of rulers (but they are very useful rulers to have!)
5. Triangles on a Roll
Using Triangles on a Roll is basically foundation paper piecing the flying geese units. One real benefit here is that if you have a whole bunch of flying geese blocks in a row, you just piece them one after another, and they will already be sewn together in the row. The Quilter’s Planner has a great video explaining how to use this triangle paper.
- Cut the triangles as shown (measurements and cutting instructions are on the roll).

- Place the larger triangle on the paper, lining it up with the guidelines. Place one of the smaller triangles, on top, RST, matching the corners on the paper. Stitch a 1/4″ seam.

- Press open and repeat on the opposite side, following the guidelines on the paper.


- If you need multiple flying geese pieced together, just continue on down the paper. Place the next large triangle, as shown, lined up with the line on the paper.

- Repeat for the number of flying geese blocks you need pieced together. Once you trim and remove the paper–your flying geese are already pieced together!
Pros:
- Very accurate
- Very little waste
- Multiple units already sewn together
Cons:
- Takes practice to get the hang of it
- Cost of Triangle on a Roll paper
Since everyone’s brain is wired differently, different methods may work better for you than another. Sometimes I use a different method, depending on the project. I’d love to know your favorite method–let me know your favorite method in the comments.
Pin it for later:


I’ve only used the sew and flip method and was considering trying another. Thanks for sharing the ideas. That triangle paper looks intriguing!
Thank you for this comprehensive post! As a new (since January) quilter, I haven’t made many flying geese yet, but I do love them. And you convinced me to order the Clearly Perfect Angles cling!
I like your oversized idea the best. I sure have a difficult time with geese. I didn’t do Block Heads 2 block 5 because of them. I did try though, 4 differeny ways, going through 4 fat quarters. Making them in hst’s was the best, but that is not a correct geese. I even tried Doug Leko’s Ruler and no good. I want a larger than a quarter inch at the top of the geese, like 5/8th at the top. I will try your oversized idea and thank you very much!!
It’s my favorite method too, and so forgiving! I hope it works for you!
You showed a couple I hadn’t seen, but I think there is yet 1 more way. Doing the math and using a regular ruler to cut 3 triangles. I hardly ever see it that way but wish math wasn’t so scary for some many people. It’d be easy to just cut 3 triangles, no fancy rulers needed.
That’s true! I’m not really a mathy person–so I do rely on specialty rulers 🙂
I think I will try the easy angle one. Do you begin stitching from the point? I sew using leaders and enders but, always have trouble getting the 1/4″ seam when beginning at the point and working to the tip! Thanks
You didn’t mention the 1 seam flying geese…..it turns out as a 3D flying geese…..here’s a tutorial… . https://www.youtube.com/watch?v=5iFUnnxUAHA
I have tried all your methods and love the 4 at one time method the best.
I have put 3 layers of painter’s tape in front of my presser foot to mark the 1/4 inch seam allowence, when I sew my finished flying geese blocks into my project.